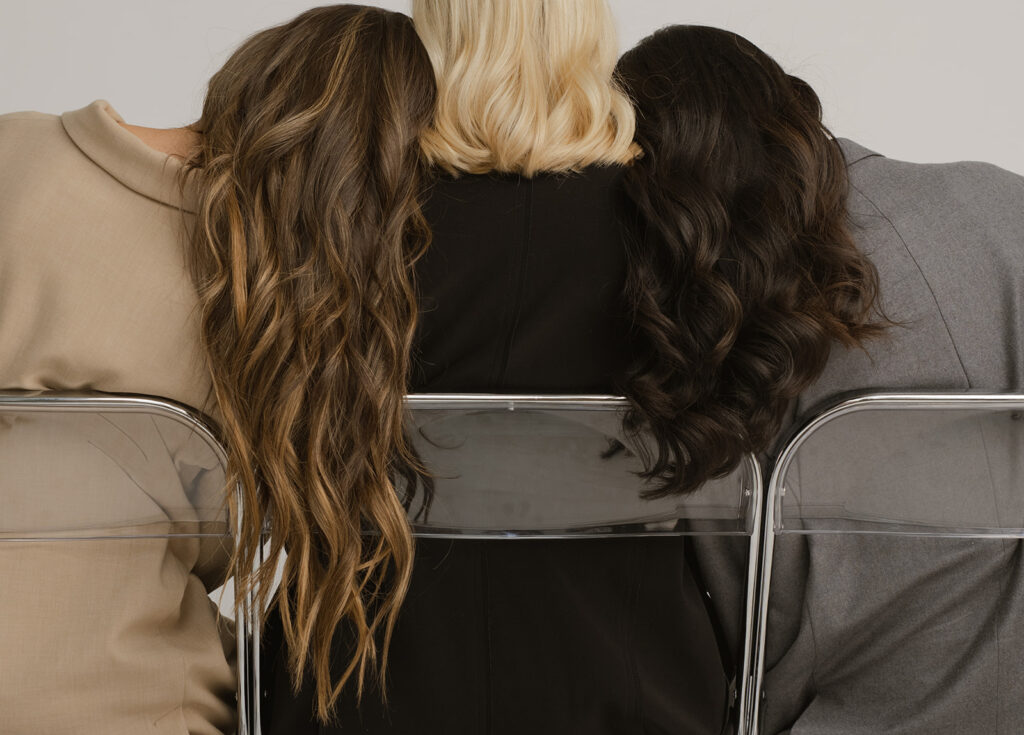
Before I ever had extensions, I had no idea there were so many methods to choose from. So if you’re like me and you’re unsure where to start, here are my firsthand takeaways and honest ratings after trying several methods.
Below I rate each method from 1–10 *10 being best*, share what it’s actually like to wear them, and I include my favorite extension hack at the end.
Allover Microbead Extensions — 4/10
What they are: Individual strands of extensions are looped through small sections of your natural hair and secured with tiny beads across your head.
This was the first method I tried and it took a long time to install. Overall I liked how full and natural my hair looked, but since the beads were so close to my scalp – my head was really tender. Sleeping and putting my hair in a ponytail was veryyy uncomfortable – for a while. But who knows, maybe I have a sensitive head *lol*.
Maintenance was frequent — every few months and I had to visit the salon to move them up as my hair grew. I thought my natural hair was growing since my extensions were growing out quickly. Well my experience turned from pretty good to pretty bad when the time came for me to take the extensions out. My jaw dropped when I saw how thin and broken my hair had become.
Verdict: The results were pretty, but the install time and post-extension damage wasn’t worth it.
Clip-In Extensions — 7/10
What they are: Temporary extensions that you install (and remove) yourself whenever you want a little extra volume or length.
Clip-ins are convenient, quick, and affordable — easily the lowest-commitment option, but there are a few drawbacks:
- Quality varies widely by brand.
- If not installed properly, the clips can show.
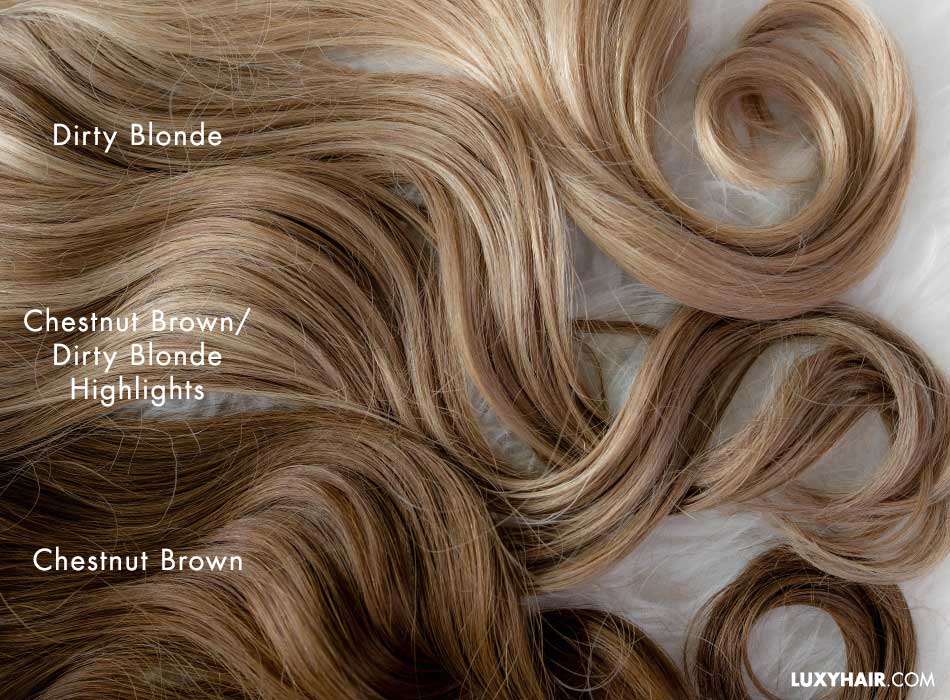
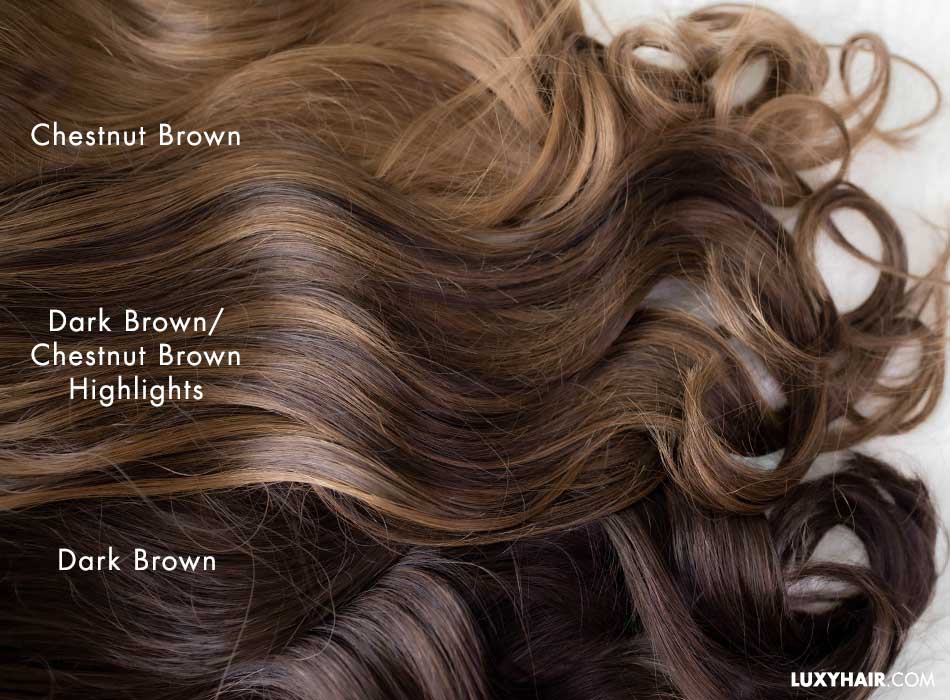
- Color matching online is tricky, especially with dimensional color.
- You’ll need a stylist to trim them for a natural blend.
Tip: Always choose 100% real human hair — it looks more natural, lasts longer, and they can be styled with heat. My go-to brands are Luxy Hair and Bellami Hair. If you’re ordering online, look for color-matching appointments or buy sample swatches. Buying sample swatches is an upfront cost but it can save you $$ from paying restocking fees to return, or the frustration if you can’t return the extensions at all.
Verdict: Great for flexibility and special occasions but requires a trim by a pro before you wear, and excellent self-installation.
Tape-Ins — 7.5/10
What they are: Small strands of extensions are attached to your natural hair using double-sided adhesive tape.
I loved how flat and lightweight tape-ins felt, and how they perfectly matched my dimensional color. My stylist used 3 different shades to blend. They were comfortable, easy to sleep in, and ponytails looked natural. The removal was quick with minimal damage. The downside? Some pieces would slip if I washed too frequently or used conditioner too close to the root — moisture can loosen the adhesive over time. If one side of the tape started to detach, the other would stick out of my hair — which was not cute.
Tip: Be very gentle when washing your hair and avoid conditioner near the tape — it’ll loosen the adhesive.
Verdict: Beautiful and natural – especially with dimensional color, but high-maintenance.
Bead-Wefts — 9/10
What they are: One long weft of hair secured by beads in a row (instead of individual strands).
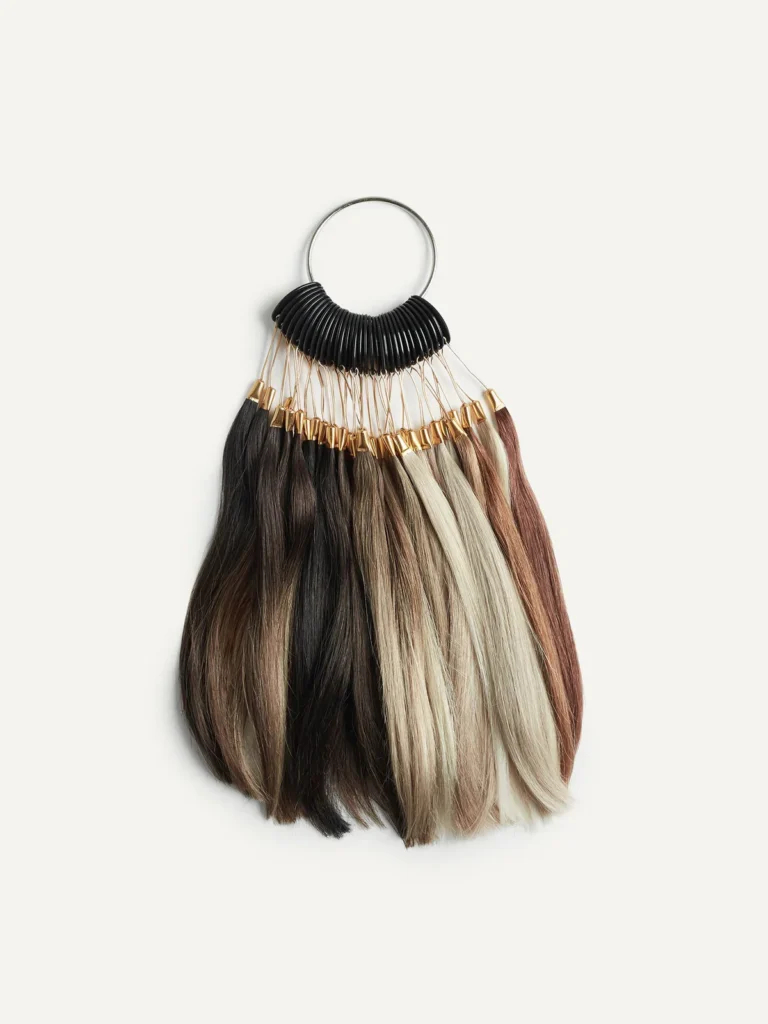
This is my personal fave for longer-term wear. If the color isn’t a perfect match or needs some dimension, my stylist adds highlights or lowlights to blend. She always tests a strand first to get the tone exactly right — a must before coloring a pricey new weave.
It’s easy to blend your natural hair with one row of extensions. You can put your hair in a ponytail but it doesn’t quite lay as flat as it would with tape-ins. Since you don’t have to be as gentle as you would with tape-in extensions, washing your hair is a little easier. Plan for regular maintenance when they grow out and more product use. *think: more shampoo*
Verdict: Because the weft is secured in a single row rather than individual strands, there’s less point-by-point tension on your natural hair. Less harsh on your hair, more durable for daily wear – but requires maintenance.
My Extension Hack — 10/10
I have extensions professionally installed, colored, and trimmed. Once my hair grows out, I have them removed. When I’m ready to wear them again, I’ll manually sew clips *purchased from amazon* onto the wefts and wear them whenever I want. It takes some time but it’s totally worth it! Your extensions last longer since they’re not constantly used or heat-styled. You save money on salon visits and product use at home *think: less hair, less products used*. But most importantly… This method allows your natural hair to maintain its health and strength.
Tip: Before sewing clips on, make sure the clip prongs face outward in the direction you want them to snap. I’ve sewn on clips, only to realize they were facing the wrong direction – which was v annoying and time consuming. So learn from ya girl’s mistake and pay attention to this at the beginning.
Verdict: The ultimate combo of salon-quality cut / color and DIY convenience.
You might like: My First Lymphatic Massage Experience or Perfect Classic Nail Colors