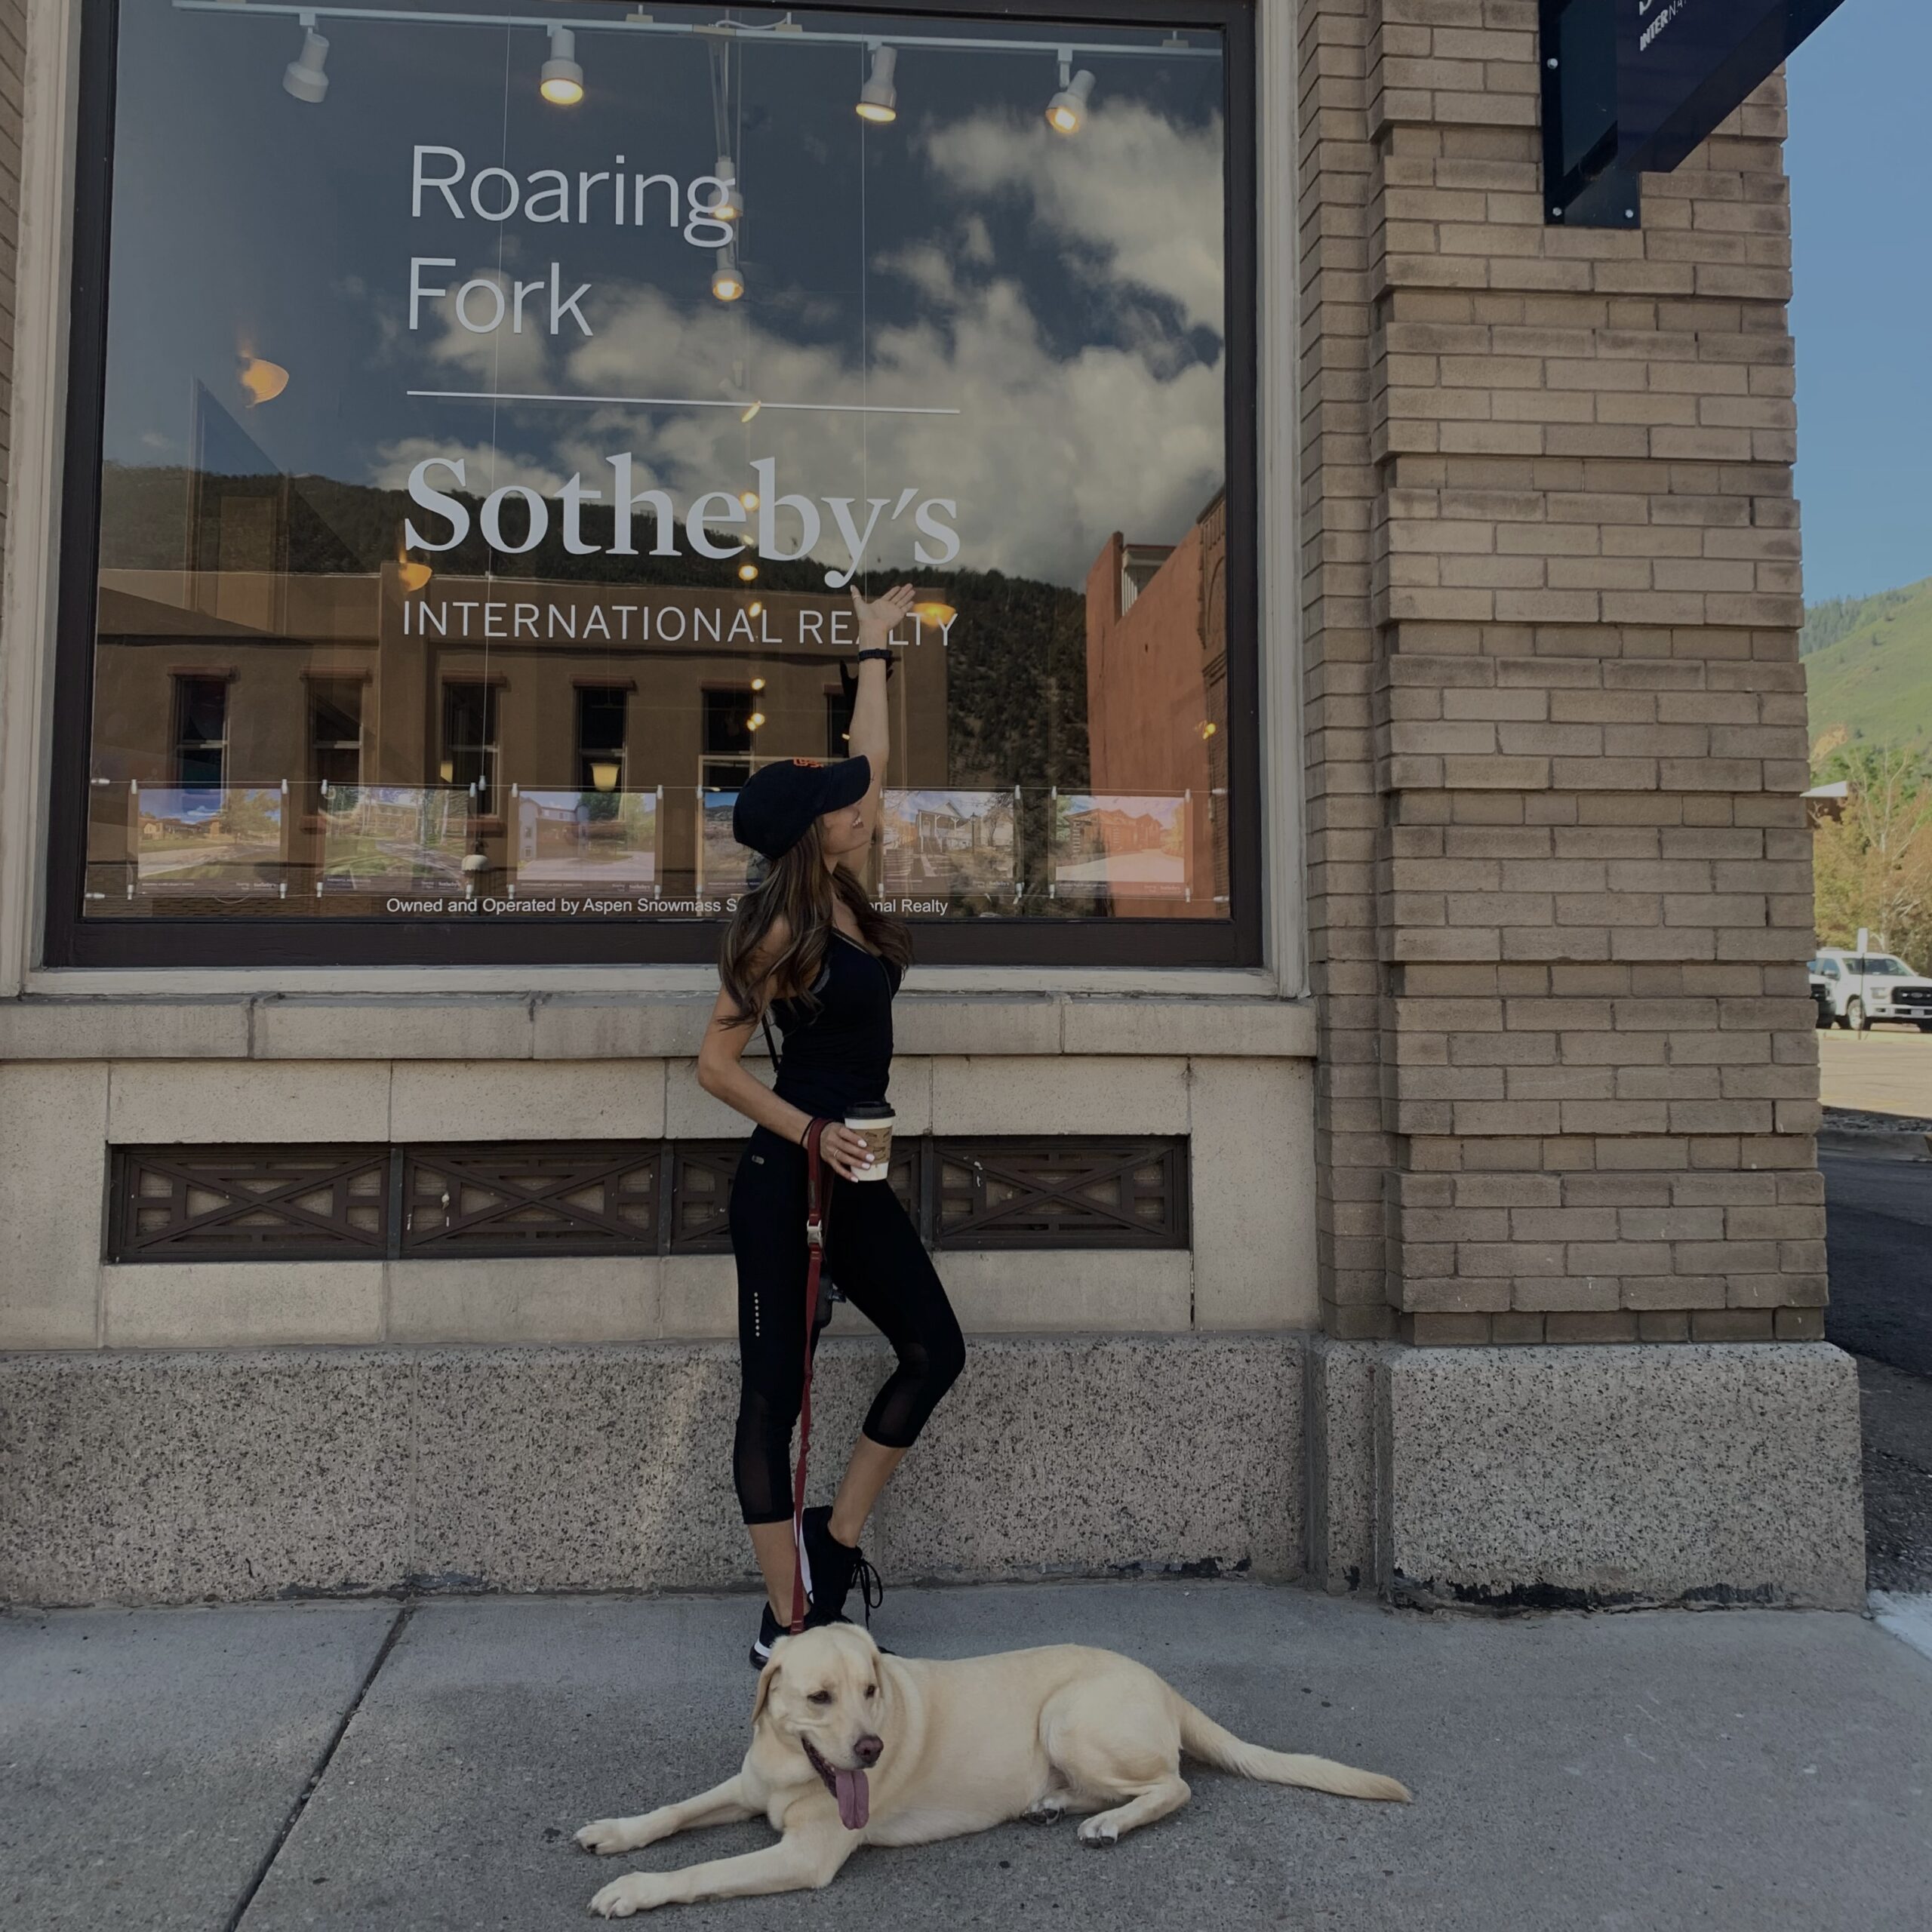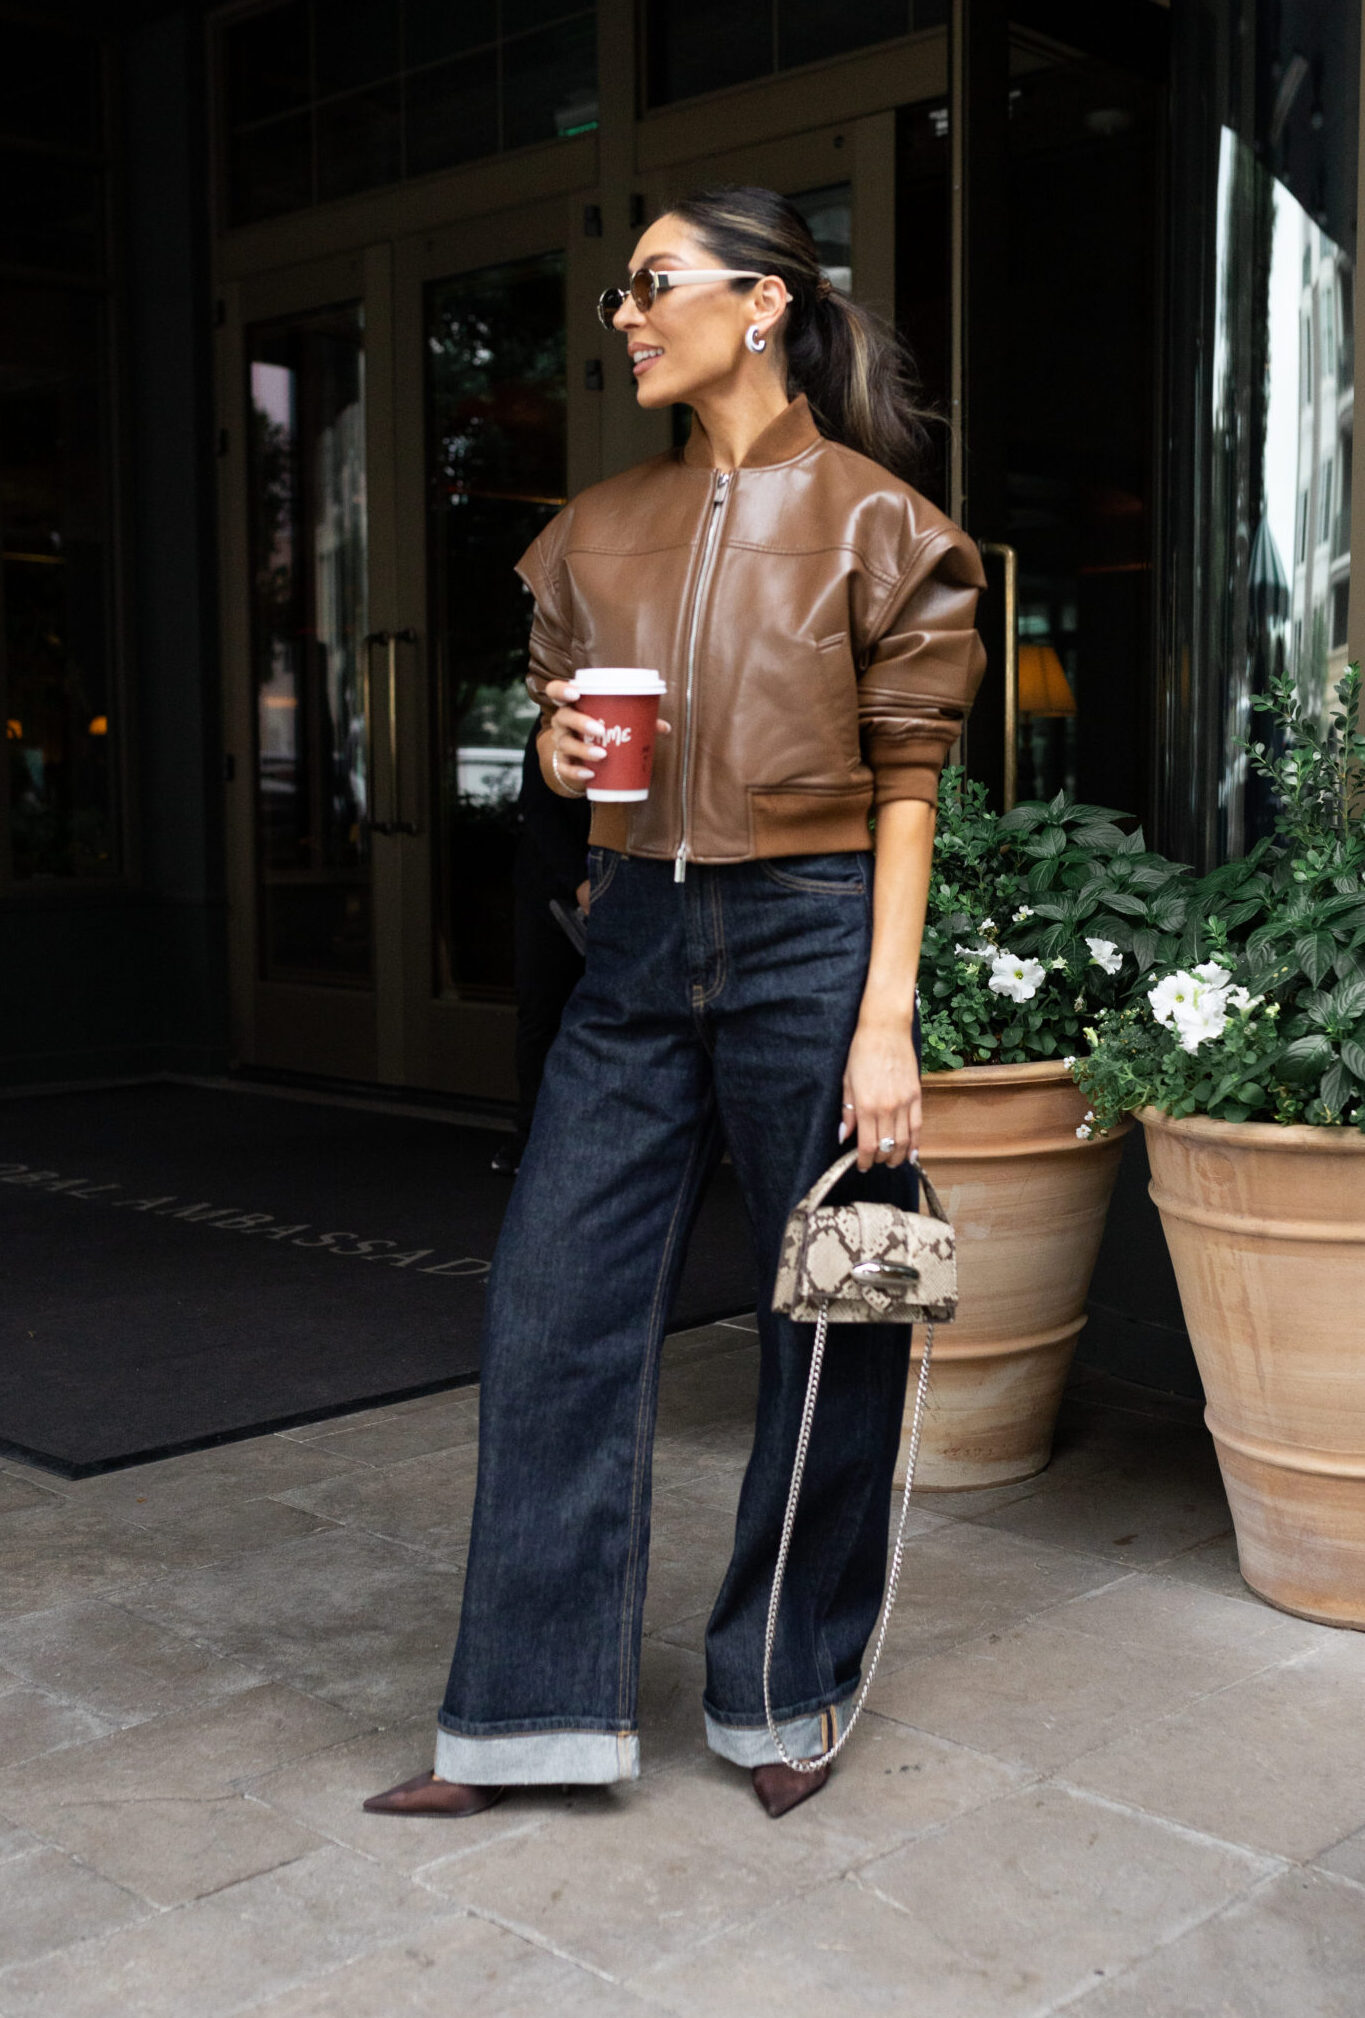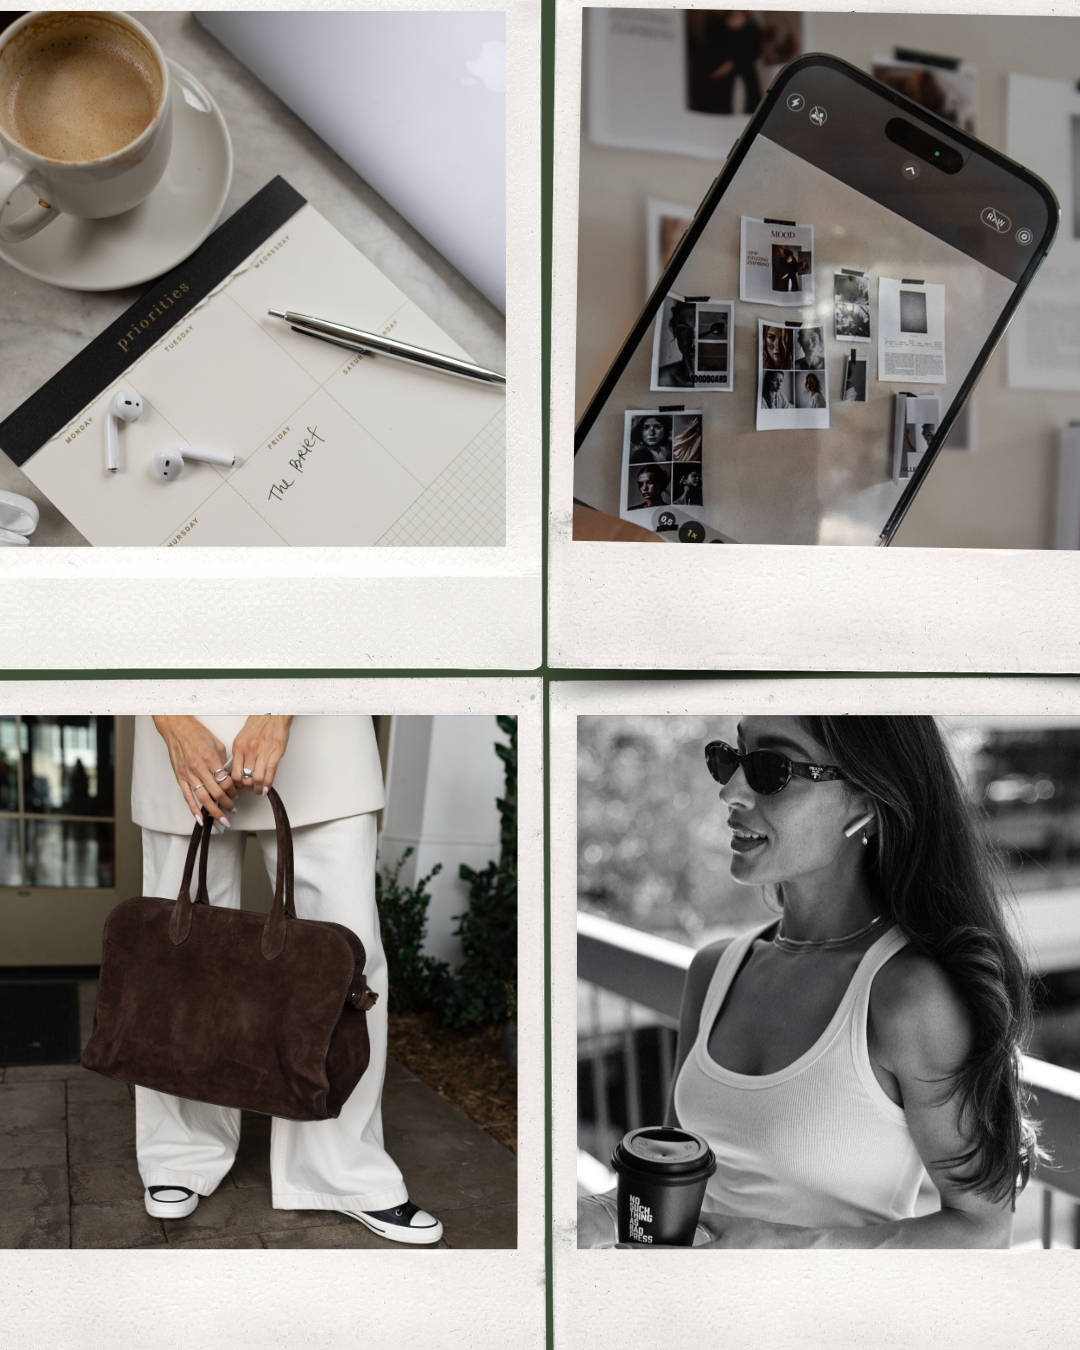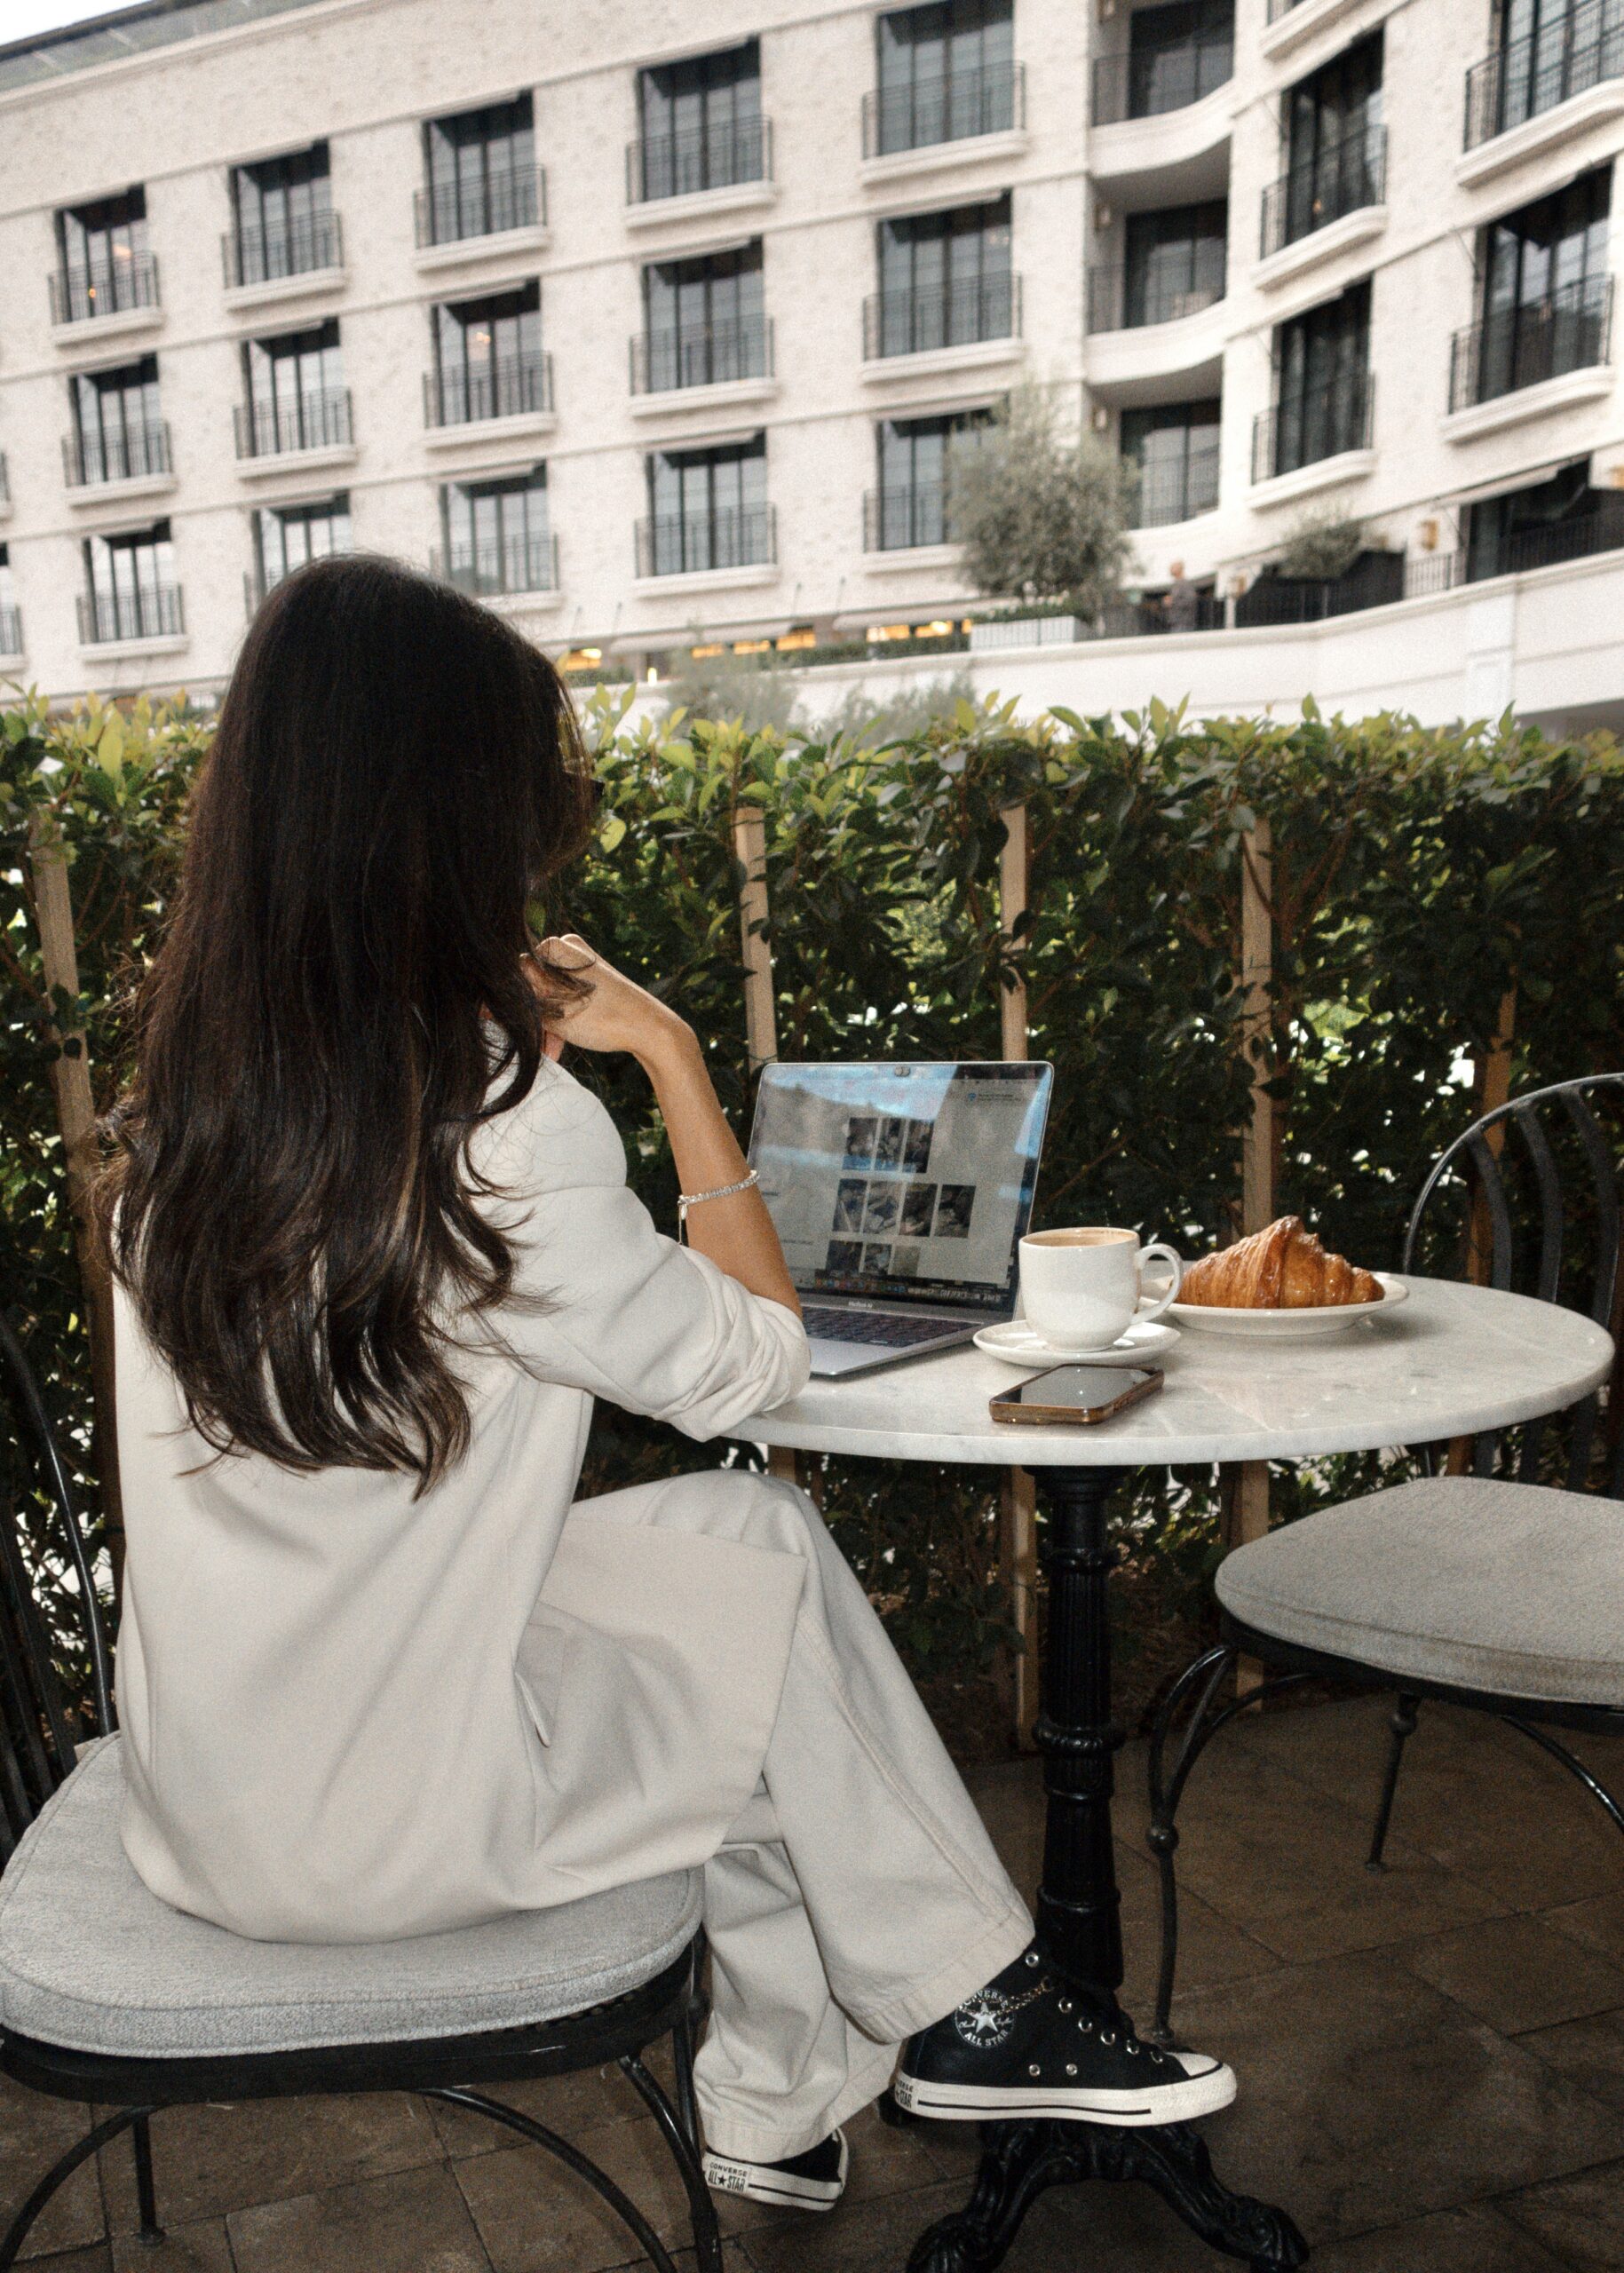




The first time I booked a videographer for a creative project, I thought I was prepared going into it.
I hired a talented team, picked a location, my outfit was cute — I felt ready to roll.
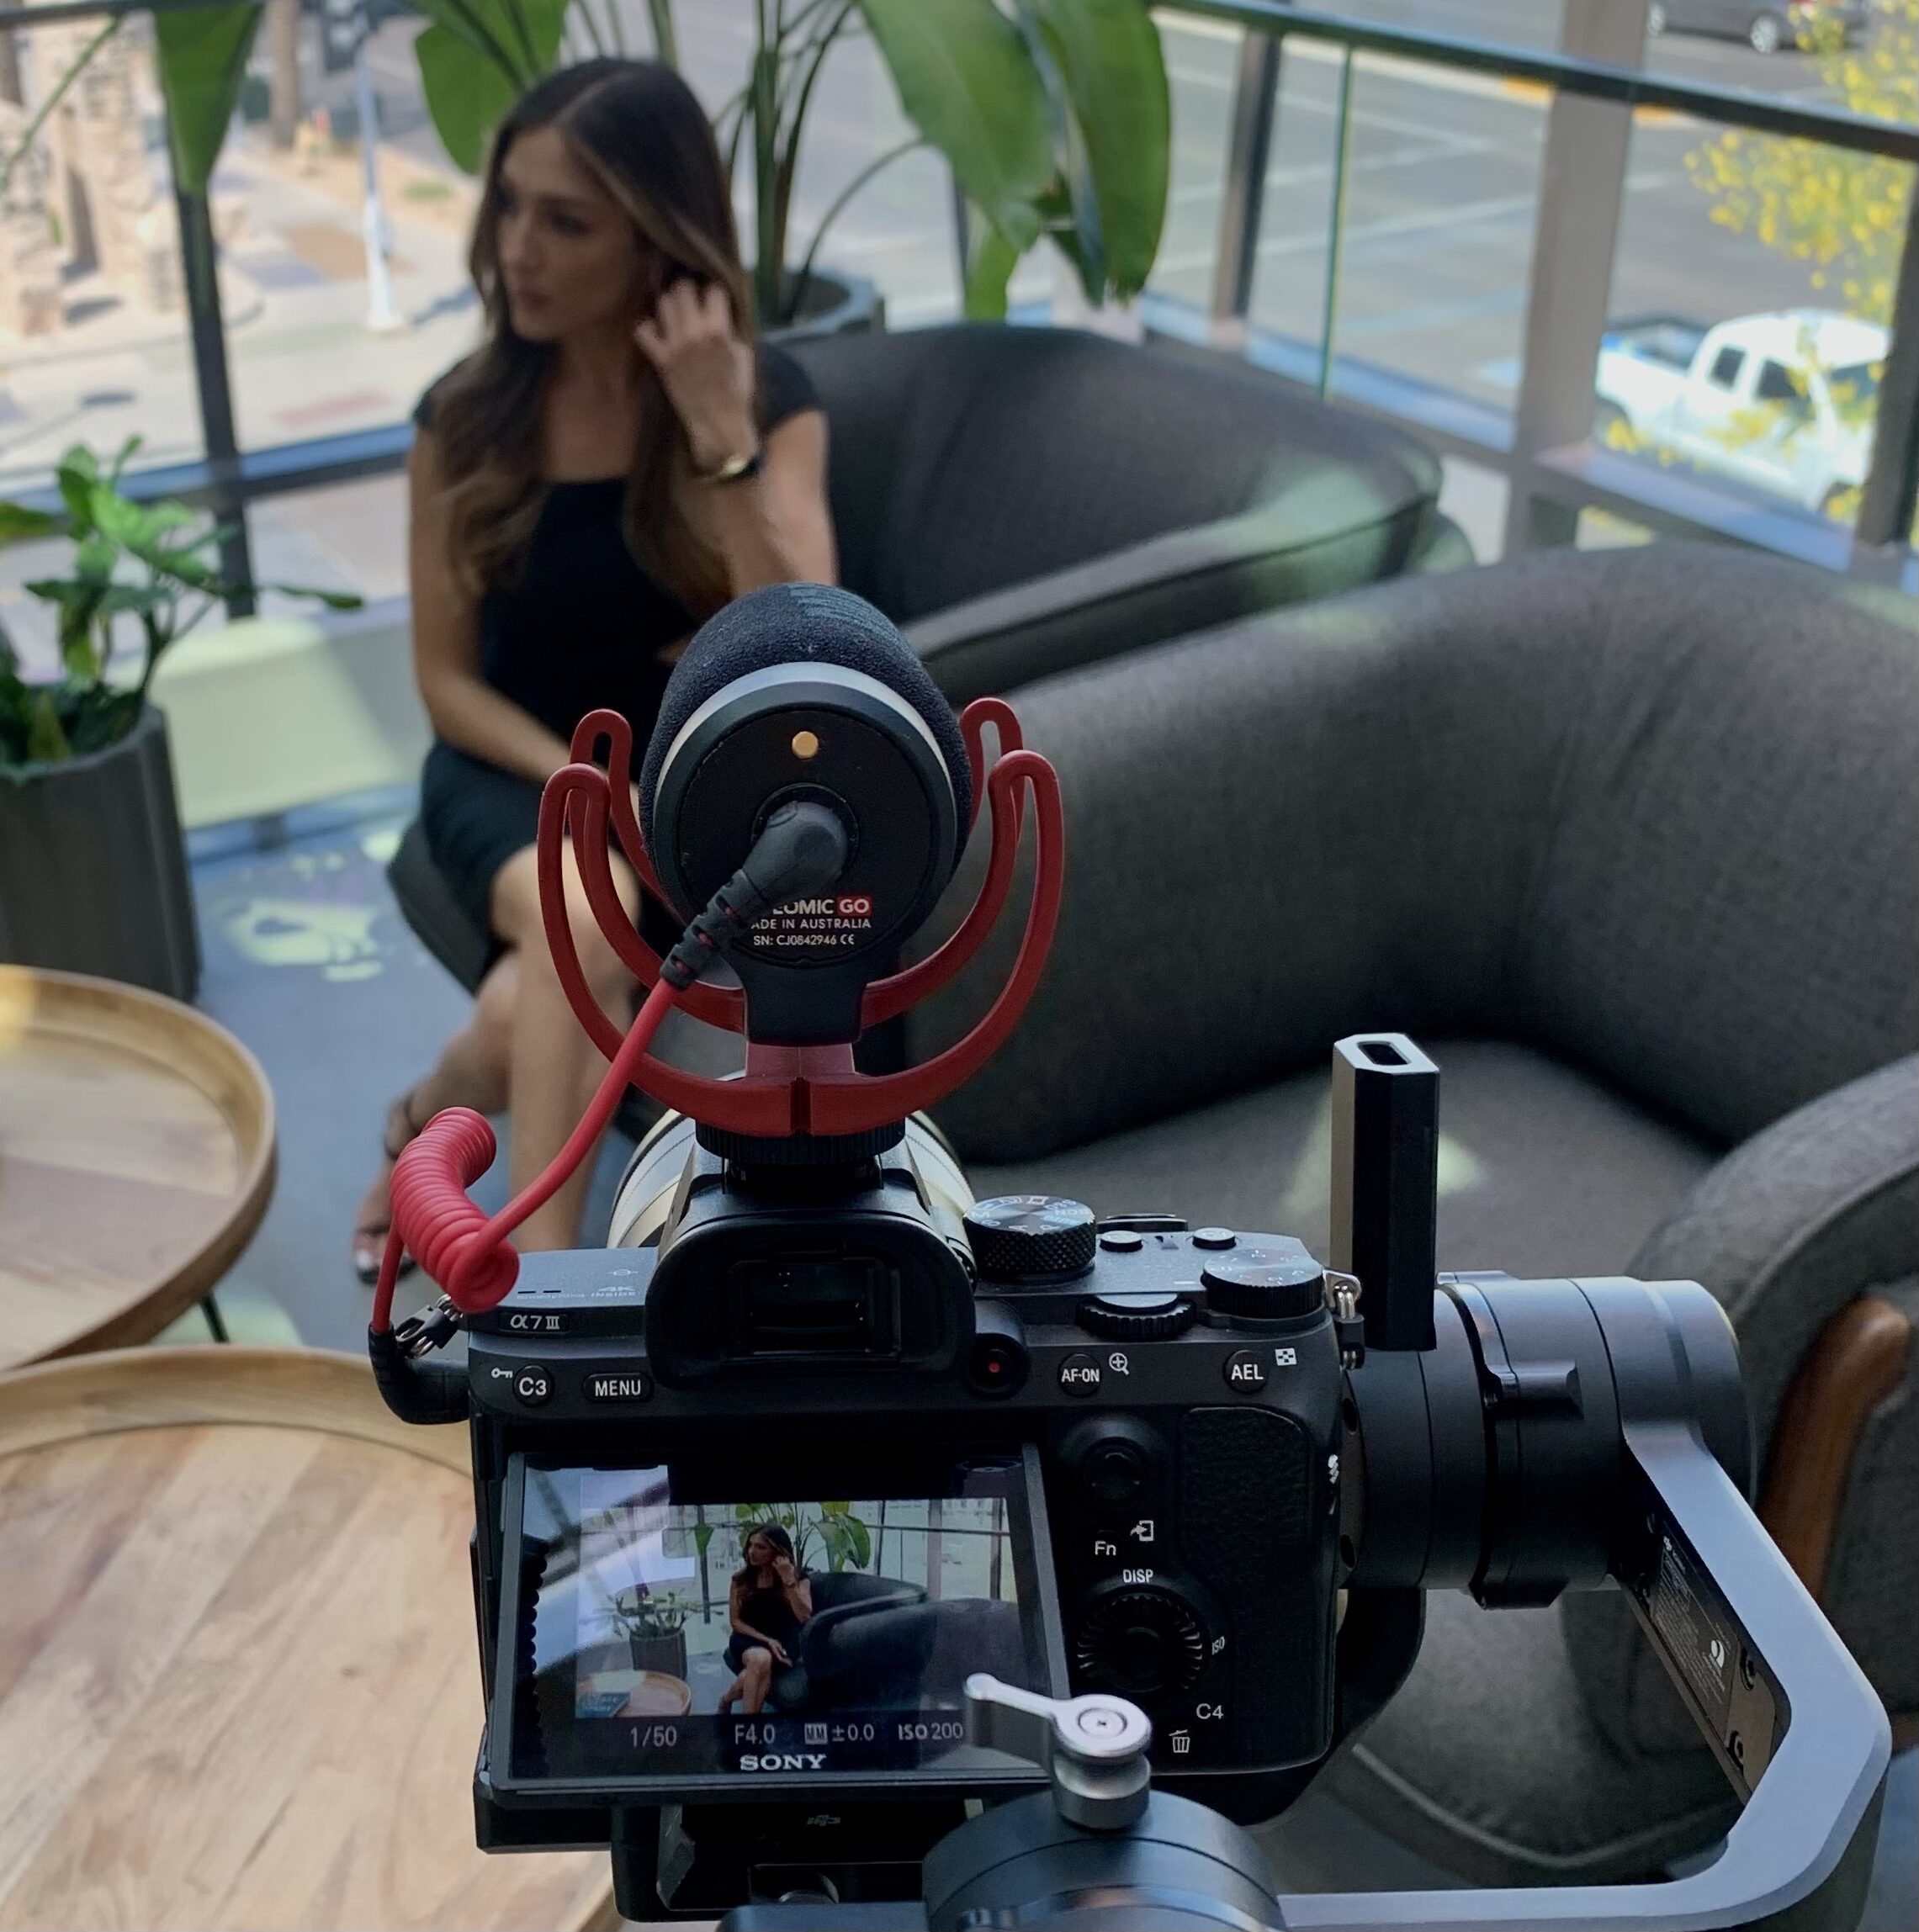
Little did I know… the location I chose was too loud, and the street noise affected the microphone audio. That led to an on the fly location adjustment, extra time on the shoot, and a little chaotic energy right before I was supposed to feel comfortable on-camera.
So once you hire your videographer — great! But learn from me. There’s a little more that goes into it.
Here’s my simple pre-shoot checklist to keep your shoot smooth – not stressful.
1. Review Your Inspo With Your Videographer
Review your inspo clips before the shoot. It’s a helpful refresher for you and your videographer – so you’re both on the same page with your overall vision, vibe, and style.
2. Confirm Format & Platform
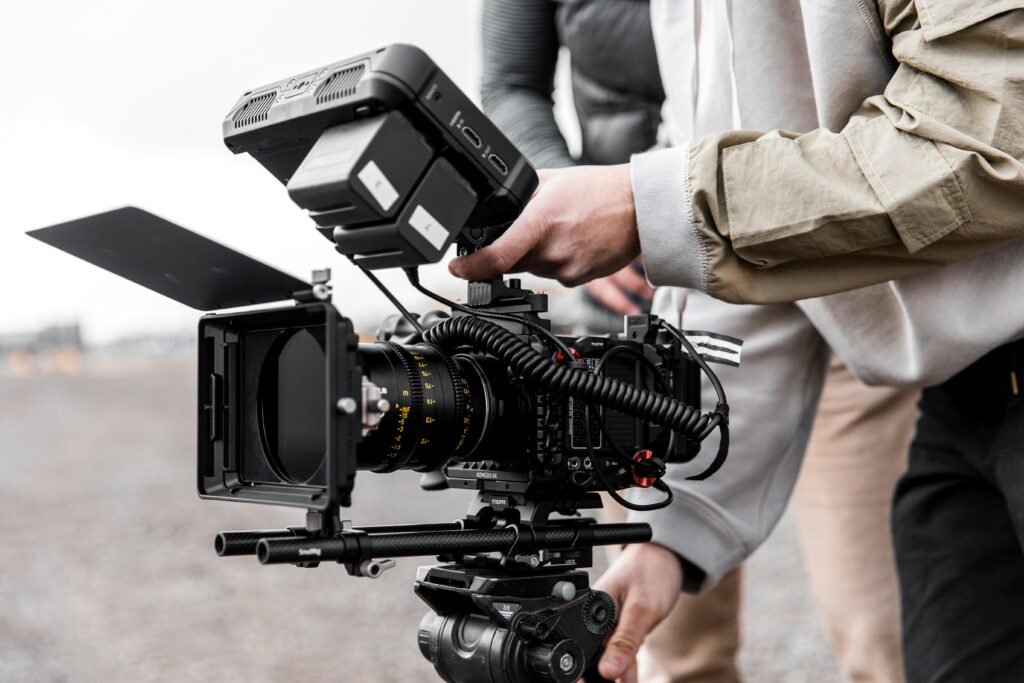
Since social media platforms have different formats, make sure you discuss where you’d like your content to live: YouTube, IG Reels, TikTok, Vine *lol jk*, etc. Also. Discuss how you’d like it shot: vertical, horizontal, both, drone, close up, wider. This helps your videographer plan lenses, framing, and overall execution.
3. Create a Simple Shot List
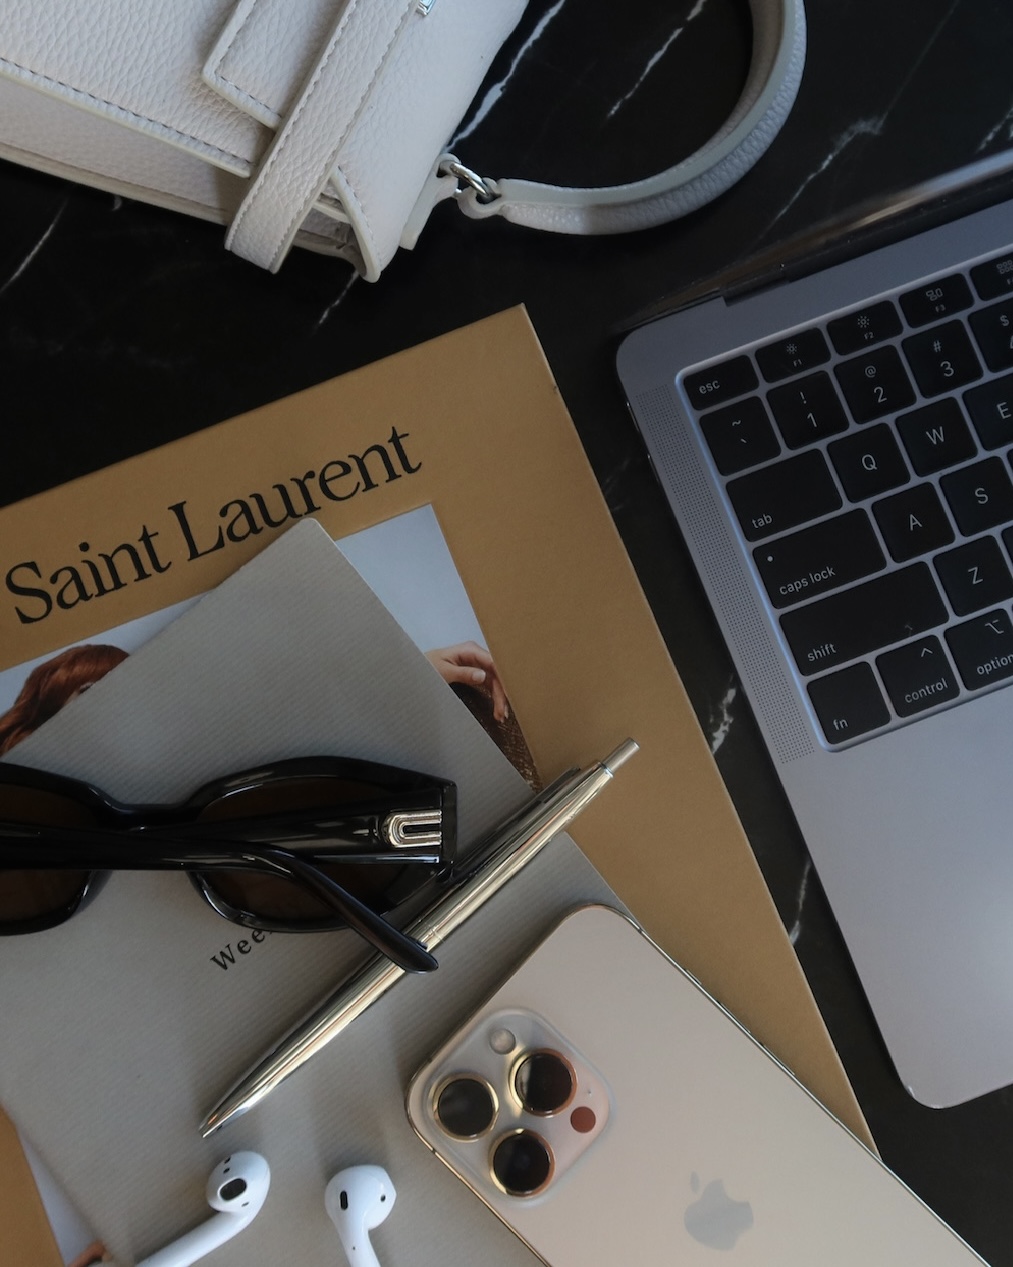
Write down a quick list of moments you want captured — walking shots, working on your laptop, talking to camera, specific detail shots, wider lifestyle clips, etc. It doesn’t need to be overly structured but it helps you stay organized and you leave with footage you actually want and need.
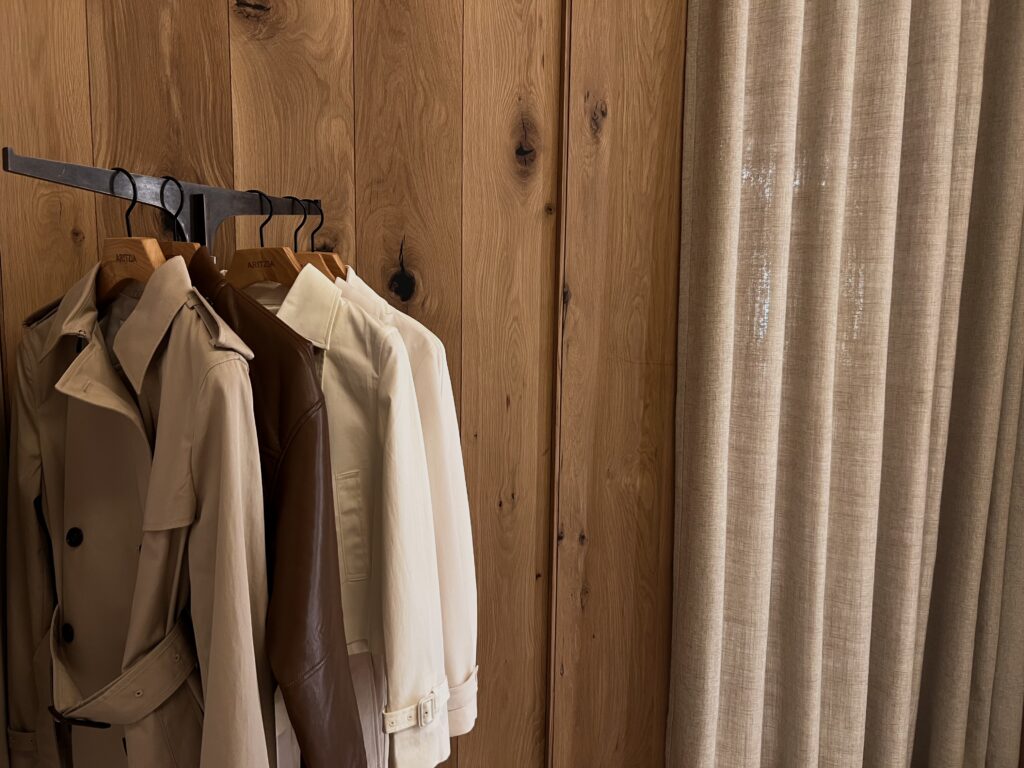
4. Pre-Plan Wardrobe & Bring More Options
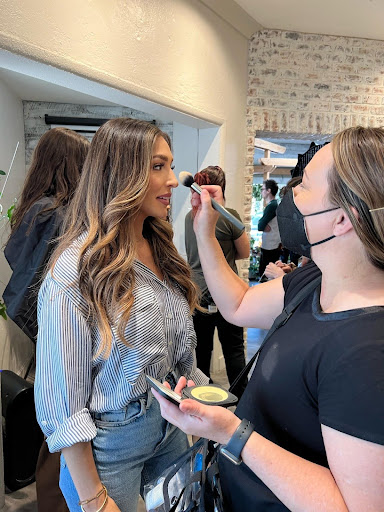
To avoid added stress and scrambling on your shoot day, give yourself extra time and plan your outfits ahead. Clothes can read totally differently on camera so pack a few backups – including various shoe options. Patterns can be distracting so keep your looks simple. And don’t forget to steam and lint roll your clothes, and clean your shoes!
5. Scout the Location Ahead of Time
If possible – walk the space before your shoot to check lighting, shadows, angles, noise levels, and overall vibe. This saves you – and the videographer time. More time = more $$$ spent.
6. Be Conscious of Background Noise
If you’re recording audio – avoid busy / noisy locations. Trust me – your videographer will thank you and you won’t have to change up your shoot’s location on the fly. Hot tip: film early. Spaces aren’t as crowded and it’s less likely you’ll run into loud leaf blowers before 8am.
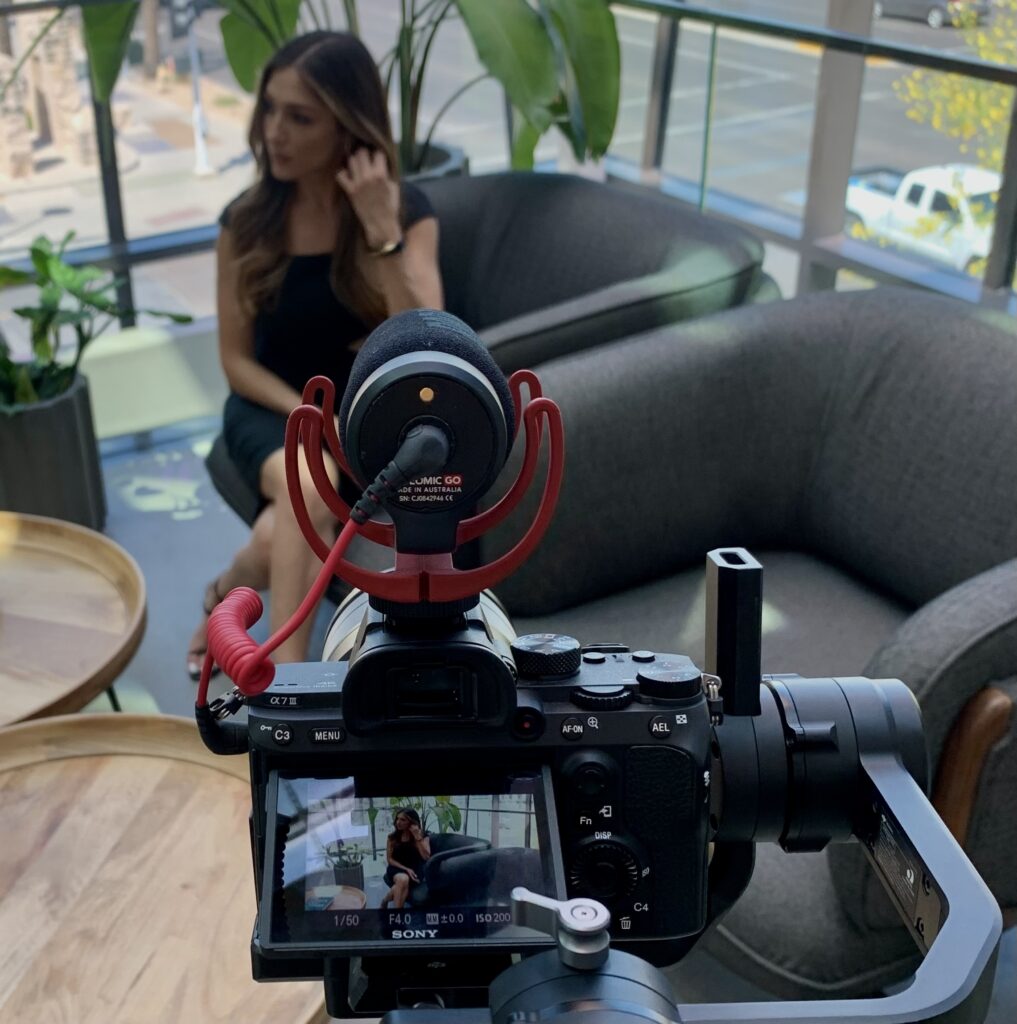
7. Be Strategic About Shoot Time
Lighting changes fast, so think about what time you’re filming — especially if you’re shooting outside or relying on natural light. Think: harsh full sun, too shaded, mismatched lighting. It can make a significant difference on your final footage.
8. Know What You Want to Say + Practice It
If you’re talking on camera, practice what you want to say ahead of time – more than once lol. You don’t need to memorize it, but having a rough outline keeps your message clear and helps you feel more confident on-camera.
The Takeaway
A little preparation goes a long way — and helps you leave the shoot with content you’ll actually use.
You might like: Before Hiring a Videographer: Read This, Un-Stuffy Stock Image Websites I Use, or Memorable Client Appreciation Events